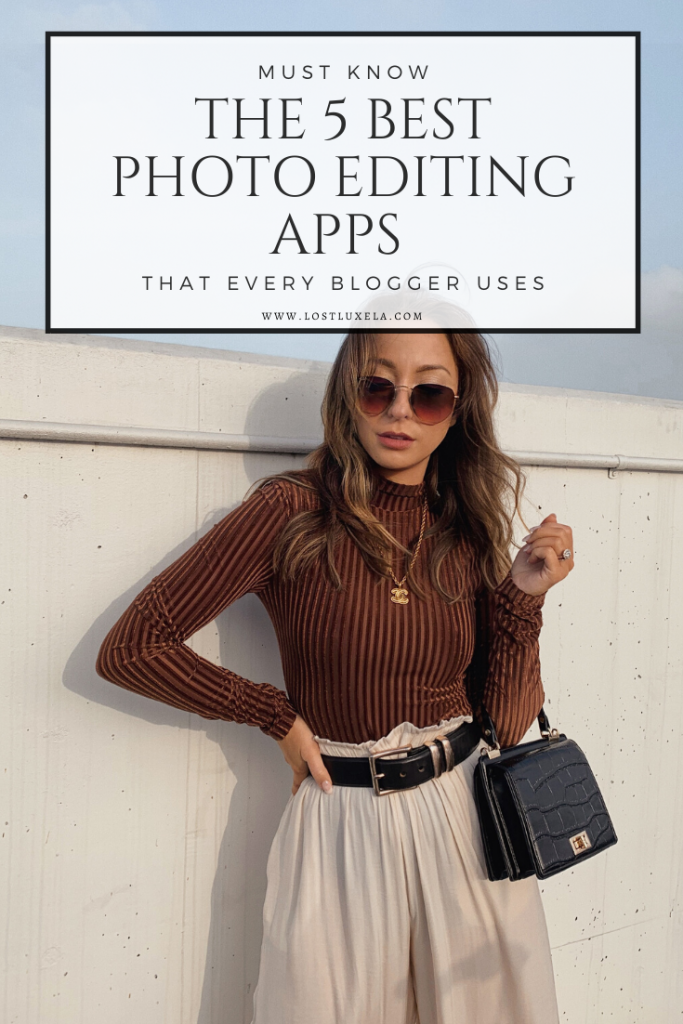
Lately I’ve been getting DM’s asking me what type of camera I use and what I do for photo editing. Well, kids, my photos are 95% iPhone magic. I don’t even have the latest and greatest- just the XS plus. It’s all about THE EDIT. And iPhone photo editing is all about the APPS. I use a heavy rotation of the same 5 apps pretty much exclusively for editing all my photos.
These are my MUST HAVE apps for photo editing and what I use them for.
VSCO:
Why I love it/ How I use it:
- TONS of FILTER OPTIONS, most with film-inspired, vintage vibes which I’m all about
- Can ADJUST THE STRENGTH of the filter you are applying (KEY)
- Make regular photo adjustments like exposure / saturation / sharpness / tint etc
- CAN SAVE YOUR RECIPES: when you get a photo just right you can save the editing recipe so you can paste all those adjustments on any new photos
- COPY AND PASTE SETTINGS from one photo to the next. Useful for editing photos in a series so they are all identical
- If you have VSCO X {which I highly recommend. It’s like $20 for the year} you can edit HSL on individual colors and…
- EDIT VIDEOS. Yes- you can import video into VSCO and apply the same filters and make adjustments just like you do on photos! I wouldn’t do this for long format videos but it’s great for Insta stories
- This app is listed first for a reason. This is my ride or die for iPhone photo editing.
Snapseed
Why I love it / How I use it
- Well, one way I use it is to make my pictures fit the INSTAGRAM CROP, as seen HERE
- SELECTIVE tool for brightening certain areas or lowering saturation of areas that are overwhelming a photo
- LOVE their TUNE IMAGE feature. I usually start in VSCO and then bring pics into Snapseed where I use Tune Image to tweak highlights / ambiance / brightness etc. Yes, most of these are features VSCO has but each app does it a slightly different way- I just enjoy tweaking here.
- DETAILS – again, other apps have sharpening and structure but I find Snapseed to be the most subtle about it. These tools are key for iPhone photo editing because subtle sharpness is key to make your phone photos look like DSLR photos. If you need an extra PUNCH of sharpness or depth I also recommend:
- TONAL CONTRAST tool – You WILL need to adjust this because when you first apply it will be way too strong. But lower everything a bit until it feels right and it makes images feel much crisper. Great way to make iPhone photos seem like they were shot on a professional camera.
- PORTRAIT TOOL- I recently discovered this gem and it is SO useful. It let’s you adjust a “face spotlight” skin smoothing and eye clarity. So if your face is a little dark this basically re-lights it for you. Everything is adjustable- don’t go overboard – especially with skin smoothing!
Lightroom:
Why I love it/ How I use it
- IT’S THE ULTIMATE. All professional photographers use Lightroom to edit. As this is for iPhone photo editing, I’m referring to Lightroom Mobile, here. HOWEVER I’m always honest with you and truthfully I use VSCO more because I’m so familiar with it and it’s easier for me. That being said – I do use Lightroom regularly still for:
- ULTIMATE CONTROL of curves / colors / highlights/ whites etc. You will not get more control in any program available
- PRESETS- Whenever you see bloggers or photographers sharing their presets they are always for use in Lightroom. NOTE Lightroom mobile is different than desktop and presets must be purchased for one or the other. If you aren’t familiar with presets, they’re basically Lightroom’s version of a “filter” but you can tweak every individual component within it- which gives you so much control!
- PERSPECTIVE- In other words, making your photo straight horizontally / vertically etc. Yes, you can do this in other programs but I use Lightroom for this because 1- I feel it maintains photo quality best after adjustment and 2- you don’t have to eyeball it, it will assist you. You can use either the auto upright features and select what you want it to straighten (vertical, horizontal etc) OR you can draw lines along where you want it to straighten. You will find this under Geometry.
- INSTA CROP- another option for making photos fit the Instagram 4:5 crop ratio if they only need a littttttle work: use the Aspect feature in Geometry. It will distort your photo, but if it only needs a slight tweak this is a quick and easy fix.
- LOCAL ADJUSTMENTS Nothing beats the tools in the “Selective” part of Lightroom. You can get SO specific with altering tiny areas for almost any adjustment you need.
TouchRetouch
Why I love it / How I use it
- REMOVE unwanted things in your photos ie: people in the background, hideous space heaters, too bright objects, trash on the ground WHATEVER. You don’t want it? Retouch doesn’t want it either. BOY BYE. And the beauty of iPhone photo editing is you can do it all with the touch of your finger.
- Another MUST HAVE for making pics fit the Instagram crop as seen HERE
- QUICK BRUSH or OBJECT REMOVAL tools to remove unwanted objects with the app’s best guess as to what to replace it with
- CLONE STAMP tool to tell the app exactly what to replace it with
- LINE REMOVAL tool to get rid of weird lines in walls, wrinkles in dresses, ugly power lines etc
Facetune
Why I love it / How I use it
- DETAILS for popping whatever you draw on- so great for popping jewelry pieces, eyes, hair clips, etc. It just sharpens it up and makes it pop. As with everything in Facetune – don’t go overboard.
- WHITEN for making yellow wall backgrounds white, brightening eyes and teeth in the shadows – DON’T go overboard
- PATCH for getting rid of zits or other things that distract from the purpose of the picture. PS you know I’m all for realness but if it’s distracting I take it out.
- SMOOTH for same reason as above. If I have a leg bruise or grease spot distracting I smooth it out DON’T GO OVERBOARD. Please, people.
So those are my favorite apps for iPhone photo editing! If you have any specific questions about how to use any of them please feel free to comment below or DM me on Insta! Maybe some tutorial vids in the future too?
Xx,